Saturday, September 9, 2017

Java Single Sign On using Apereo CAS

Enterprise Single Sign (SSO) On using Apereo CAS Apereo CAS ( Central Authentication Service ) provides single sign on (SSO)functiona... thumbnail 1 summary
Enterprise Single Sign (SSO) On using Apereo CAS

Apereo CAS (Central Authentication Service) provides single sign on (SSO)functionality to various applications.

Apereo CAS application has two parts 

1.The web application which can run on any java EE compliant web server (like tomcat) and act as a server which provides authentication.
2. The client , which you need to add with your application.

In this post , we will configure CAS in tomcat , and create a java web application which will use CAS authentication service.

Configure CAS server

First we will configure CAS server to run as WAR application on tomcat. For this, first download CAS from https://www.apereo.org/projects/cas/download-cas.

In this post I used cas-server-3.5.2-release downloaded from https://github.com/apereo/cas/releases/tag/v3.5.2.

Extract the zip file and there you find different implementation of CAS server.Just Copy the cas-server-webapp-3.5.2.war. Rename the war file to cas-server.war and deploy the war file in your tomcat .By default CAS Server web app will work on only for HTTPS connections.

Prepare the tomcat to accept https connections which is explained in this Post.


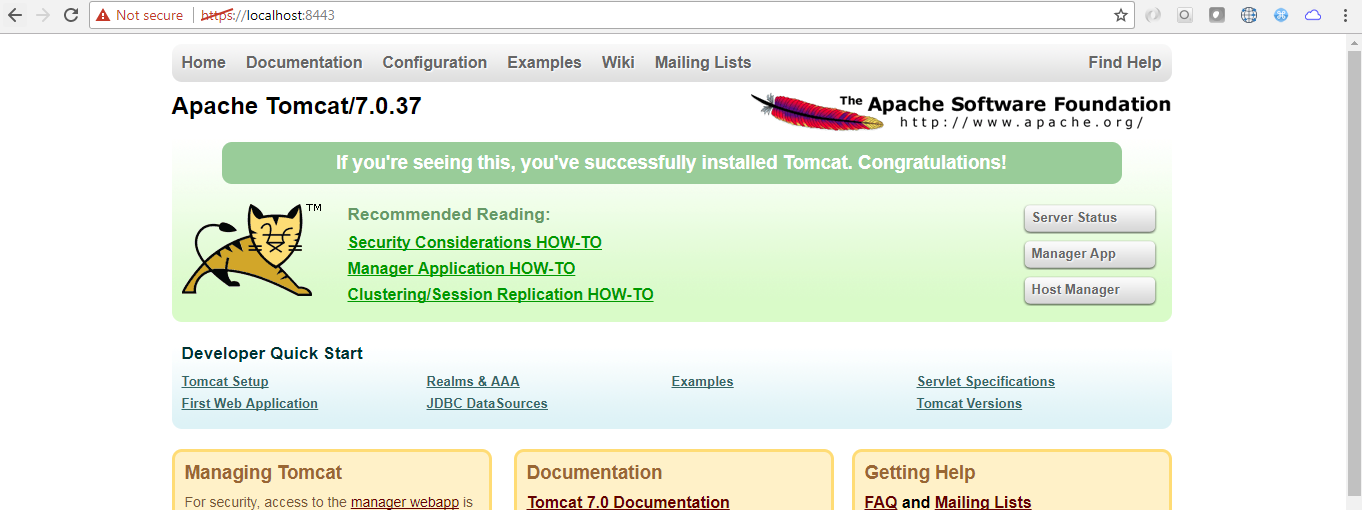
Start your tomcat and access the cas-server by https://localhost:8443/cas-server

You can see the login page as like below,


Creating java web application to use SSO of CAS

First we need to download CAS client for java. You should have following jars in your web app
1.cas-client-core-3.1.1.jar
2.commons-logging-1.1.jar
3.servlet-api-2.3.jar
4.xmlsec-1.3.0.jar

You can simply download these jars from maven repository.

Once you create a java web application add these jars to lib folder. The project will look like this


Now add these filter configurations to your web.xml.

<filter>
  <filter-name>CAS Authentication Filter</filter-name>
  <filter-class>org.jasig.cas.client.authentication.AuthenticationFilter</filter-class>
  <init-param>
  <param-name>casServerLoginUrl</param-name>
  <param-value>http://localhost:8080/cas/login</param-value>
  </init-param>
  <init-param>
  <param-name>serverName</param-name>
  <param-value>http://localhost:8080</param-value>
  </init-param>
  <init-param>
  <param-name>renew</param-name>
  <param-value>false</param-value>
  </init-param>
  <init-param>
  <param-name>gateway</param-name>
  <param-value>false</param-value>
  </init-param>
 </filter>

 <filter>
  <filter-name>CAS Validation Filter</filter-name>
  <filter-class>org.jasig.cas.client.validation.Cas20ProxyReceivingTicketValidationFilter</filter-class>
  <init-param>
  <param-name>casServerUrlPrefix</param-name>
  <param-value>http://localhost:8080/cas/</param-value>
  </init-param>
  <init-param>
  <param-name>serverName</param-name>
  <param-value>http://localhost:8080</param-value>
  </init-param>
  <init-param>
  <param-name>proxyCallbackUrl</param-name>
  <param-value>http://localhost:8080/webappcas2/proxyCallback</param-value>
  </init-param>
  <init-param>
  <param-name>proxyReceptorUrl</param-name>
  <param-value>/webappcas2/proxyCallback</param-value>
  </init-param>
 </filter>

 <filter>
  <filter-name>CAS HttpServletRequest Wrapper Filter</filter-name>
  <filter-class>org.jasig.cas.client.util.HttpServletRequestWrapperFilter</filter-class>
 </filter>

 <filter>
  <filter-name>CAS Assertion Thread Local Filter</filter-name>
  <filter-class>org.jasig.cas.client.util.AssertionThreadLocalFilter</filter-class>
 </filter>

 <!-- ************************* -->

<!-- Sign out not yet implemented -->
<!--
 <filter-mapping>
  <filter-name>CAS Single Sign Out Filter</filter-name>
  <url-pattern>/*</url-pattern>
 </filter-mapping>
-->

 <filter-mapping>
  <filter-name>CAS Authentication Filter</filter-name>
  <url-pattern>/*</url-pattern>
 </filter-mapping>

 <filter-mapping>
  <filter-name>CAS Validation Filter</filter-name>
  <url-pattern>/*</url-pattern>
 </filter-mapping>
 
 <filter-mapping>
  <filter-name>CAS HttpServletRequest Wrapper Filter</filter-name>
  <url-pattern>/*</url-pattern>
 </filter-mapping>

 <filter-mapping>
  <filter-name>CAS Assertion Thread Local Filter</filter-name>
  <url-pattern>/*</url-pattern>
 </filter-mapping>

 <filter-mapping>
  <filter-name>CAS Validation Filter</filter-name>
  <url-pattern>/proxyCallback</url-pattern>
 </filter-mapping>

That's it . Now if you try to access your web app , you will be redirected to cas login page to login first.Right now CAS web app is configured to allow access with same username and password.You can configure cas-web-app as you wish. Upon successful authentication you will be served the web page from web app.


Upon success login page will redirect to your application with the SSO token.

 http://localhost:8180/Test/index.jsp?ticket=ST-1-dgreiDgEIDtz2erwfEpx-cas01.example.org

I have not configured further, I will leave it to you.

Based on your needs you can create a application session and you can do lot more stuffs.

ref : http://www.javaroots.com/2013/05/configure-cas-server-and-client-in-java.html

Thanks.
Happy coding!

Setting Up HTTPS(SSL) on Apache Tomcat 7

Setting Up HTTPS(SSL) on Apache Tomcat 7 This tutorial will help you to configure  https ( SSL/TLS Configuration ) on  Apache  Tomca... thumbnail 1 summary
Setting Up HTTPS(SSL) on Apache Tomcat 7

This tutorial will help you to configure https (SSL/TLS Configuration) on 
Apache Tomcat 7
I have used jdk1.8.0_131 and apache-tomcat-7.0.37

To enable SSL in tomcat we have to create keystore file (.keystore) and this 
need to configure in tomcat conf/server.xml file.

1. Create keystore file

Open the cmd or terminal and goto java _home\bin

cd %JAVA_HOME%/bin

use keytool file to generate the required file.
Type the following in cmd/terminal

keytool -genkey -alias tomcathttps -keyalg RSA

When you type the command above, it will ask you some questions. First, it will ask you to create a password. Please make sure alias name and password are same to avoid server startup error. In this case provide tomcathttps as password.

C:\Users\user\java> keytool -genkey -alias tomcathttps -keyalg RSA

Enter keystore password: tomcathttps
Re-enter new password: tomcathttps
What is your first and last name?
  [Unknown]: Balasubramaniyam P
What is the name of your organizational unit?
  [Unknown]: Retail
What is the name of your organization?
  [Unknown]: APS
What is the name of your City or Locality?
  [Unknown]: Bangalore
What is the name of your State or Province?
  [Unknown]: KA
What is the two-letter country code for this unit?
  [Unknown]: IN
Is CN=Balasubramaniyam P, OU=Retail, O=APS, L= Bangalore, ST=KA, C=IN correct?
  [no]: yes

Enter key password for
  (RETURN if same as keystore password): tomcathttps
Re-enter new password: tomcathttps

This will create a .keystore file on your user home directory. On Windows, it will be on: C:Documents and Settings[username].

2. Configuring keystore file in tomcat server.xml

Open your Tomcat installation directory and open the conf folder. Inside this folder, you will find the server.xml file. Open it.
Tomcat\apache-tomcat-7.0.37\conf\server.xml
Look for the following declaration in the server.xml

<!-- Define a SSL HTTP/1.1 Connector on port 8443
  This connector uses the JSSE configuration, when using APR, the
  connector should be using the OpenSSL style configuration
  described in the APR documentation -->

Uncomment it and modify it to look like the following:

<Connector SSLEnabled="true" acceptCount="100" clientAuth="false"
  disableUploadTimeout="true" enableLookups="false" maxThreads="25"
  port="8443" keystoreFile="c:/users/Bala/.keystore" keystorePass="tomcathttps"
  protocol="org.apache.coyote.http11.Http11NioProtocol" scheme="https"
  secure="true" sslProtocol="TLS" />

3.Test your configuration

Start tomcat service and try to access https://localhost:8443. You will see Tomcat’s local home page.

Default http port will also work fine.

4.Forcing web application to work with https

Need to configure the following in the web.xml.
<security-constraint>
  <web-resource-collection>
  <web-resource-name>securedapp</web-resource-name>
  <url-pattern>/*</url-pattern>
  </web-resource-collection>
  <user-data-constraint>
  <transport-guarantee>CONFIDENTIAL</transport-guarantee>
  </user-data-constraint>
</security-constraint>
Since we have given url-pattern is /* 
all the pages will be accessed only in https. This can be changed based on the 
requirement.


If you want to turn off the SSL change CONFIDENTIAL to NONE in web.xml
Thanks.
Happy coding !

ref:http://tomcat.apache.org/tomcat-7.0-doc/ssl-howto.html


Thursday, September 7, 2017

ATG Oracle Commerce 11.3 JAX-RS Stateless REST services

ATG Oracle Commerce 11.3 JAX-RS Stateless REST services Stateless is one of the defining features of RESTful services. Client’s sta... thumbnail 1 summary
ATG Oracle Commerce 11.3 JAX-RS Stateless REST services


  1. Stateless is one of the defining features of RESTful services.
  2. Client’s state is not kept on the server,each request to be treated independently.
  3. By default, the framework is configured to be stateful. Pls refer here to enable the stateless layer.
  4. When we enable the dynamo layer as stateless, clients each request to be treated independently.
  5. ATG will passes the state info to the client in the response header and the same data need to pass t the server in the next request.
  6. Session and windows scopes are mapped to request scope.
  7. ATG components will be either request scope or global scope.
  8. Environment should not contain any shareable types [Cart and Profile]
  9. Need to ensure Session Affinity for the best performance.This eliminates the need to replicate session data like the http session or session beans.
  10. Data volume for service calls and responses increases.
  11. Increasing network bandwidth will increase the performance 
  12. Performance results may differ depending on the environment and configuration
  13. The profile and cart state information is passed back and forth using headers. The cart can grow to be very large as we pass extra data in the response body .

  14. There are two main components that pass data during a session.
      1.ProfileLoadableService
                                The profile maintains data for a shopper, which includes the profile ID, security status, and active promotions.
             2.OrderLoadableService              
                                The shopping cart passes a JSON representation of the cart to the client in the HTTP response body for any endpoint that interacts with the cart.
Passing State Data in the HTTP Header
When a component uses a header to pass state data between the client and the server, the data is comprised of a map of key/value pairs that reconstruct the component on the next request. This encoded and signed data is keyed on the component name. The value is the child map of key/value pairs used to reconstruct the component. The header value is a string representation of this map.
For example:
{ /atg/userprofiling/ProfileLoadableService = {securityStatus=0,
    activePromotions=, userId=1160002} }</a>
To configure a component to pass state information within the headers, add the Nucleus component path to a request-scoped instance of LoadableService to the loadableServicePaths property in the 
RequestStateManager:
loadableServicePaths=\
    /atg/userprofiling/ProfileLoadableService</a>


Example Post method for login service. After login success,we can see the x-ocstatedata header in the response.
We have to send this header for every request to get the logged user details.

Login Url : http://localhost:8080/public/v1/currentUser/login?pushSite=002


Getting user detail Url : http://localhost:8080/public/v1/currentUser?pushSite=002


Reference
http://docs.oracle.com/cd/E69533_01/Platform.11-3/ATGWSFrameGuide/html/s0517workingwithstatelessness01.html


Enable Stateless REST services in ATG Oracle Commerce 11.3

Enable Stateless REST services in ATG Oracle Commerce 11.3 ATG framework is configured to be stateful by default but we can enable the... thumbnail 1 summary
Enable Stateless REST services in ATG Oracle Commerce 11.3

ATG framework is configured to be stateful by default but we can enable the stateless layer.

These are the simple steps to configure the stateless layer in your ATG .

1. Modify assembler.xml to add stateless layer.
....
.....
....
<exec dir="${env.DYNAMO_HOME}/bin" vmlauncher="false" executable="./runAssembler" failonerror="yes">
<arg value="-jboss" />
<arg value="-overwrite" />
<arg line="${deploy.location}/${ear.file.name}" />
<arg line="-layer" />
<arg line="stateless" />
<arg line="-m ${assemble.cmd.modules}" />
</exec>
.....
.....
.....
Once you add the above line, your assembler will take this extra layering while creating EAR file.

2.Create the EAR file with this configuration.

4.Verify the stateless layer added into your dynamo.env file from your EAR file

Check atg.dynamo.layers=stateless added in dynamo.env.

File path:
\jboss-eap-7.0\standalone\deployments\Production\Production.ear\atg_bootstrap.war\WEB-INF\ATG-INF\dynamo.env

 #Dynamo environment properties
#Thu Sep 07 13:10:47 IST 2017
atg.dynamo.home=C\:\\ATG\\ATG11.3\\home
atg.dynamo.root=C\:\\ATG\\ATG11.3
atg.dynamo.server.home=C\:\\ATG\\ATG11.3\\home
atg.dynamo.versioninfo=ATGPlatform/11.3
atg.dynamo.modules=<<All your modules>>
atg.dynamo.platformversion=11.3
atg.dynamo.layers=stateless
atg.dynamo.display=\:0.0
atg.dynamo.use-install=true

5.Start the server to verify your configurations are loaded or not.

Look for the following lines in the server log during start up.

... 
...
 C:\ATG\ATG11.3\DAS\configlayers\stateless\config.jar,
...
 C:\ATG\ATG11.3\DafEar\base\configlayers\stateless\config.jar,
...
 C:\ATG\ATG11.3\DPS\configlayers\stateless\config.jar,
...
 C:\ATG\ATG11.3\DCS\configlayers\stateless\config.jar,
...
... 
If you are able locate these lines then your server is started with the stateless layer.

Thanks.

Happy coding!